Have you ever wondered how to install the trusty phpMyAdmin to your homestead development box? The steps are quite simple, you just have to do the following:
Download phpMyAdmin
Pull the latest zip of phpMyAdmin source from https://www.phpmyadmin.net/downloads/ or directly the latest version (5.1.0) from https://files.phpmyadmin.net/phpMyAdmin/5.1.0/phpMyAdmin-5.1.0-all-languages.zip . Unpack it wherever it’s most comfortable for you, and rename it as phpMyAdmin. For this example the final path is ~/Downloads/phpMyAdmin .
Configure Homestead
Head to where Homestead is installed, and open Homestead.yaml in your favorite text editor.
---
ip: "192.168.22.10"
memory: 2048
cpus: 2
provider: virtualbox

authorize: ~/.ssh/id_rsa.pub

keys:
    - ~/.ssh/id_rsa

folders:
    - map: ~/Downloads/phpMyAdmin
      to: /home/vagrant/phpmyadmin

sites:
    - map: phpmyadmin.test
      to: /home/vagrant/phpmyadmin

databases:
    - homestead

features:
    - mariadb: false
    - ohmyzsh: true
    - webdriver: false
Set the folder and sites mapping as shown above, and save the file. Restart the vagrant instance with provision via the following command and wait till the image is restarted.
vagrant reload --provisionUpdate the hosts
On your host machine, the one that runs vagrant, head to the hosts file. For Unix systems ( Mac, Ubuntu, Arch, etc. ) it’s at /etc/hosts.
For Windows based machines it’s at C:\Windows\System32\drivers\etc\hosts. Open the file in a text editor with admin privileges ( or run with sudo from terminal ), and include the following line at the end of the file.
192.168.22.10 phpmyadmin.testAnd save the file. The selected address for this setup is 192.168.22.10 is the one specified in my Homestead.yaml file, under the ip: field. You can change your rule in the hosts file, to which ip is specified for your Homestead installation.
Usage
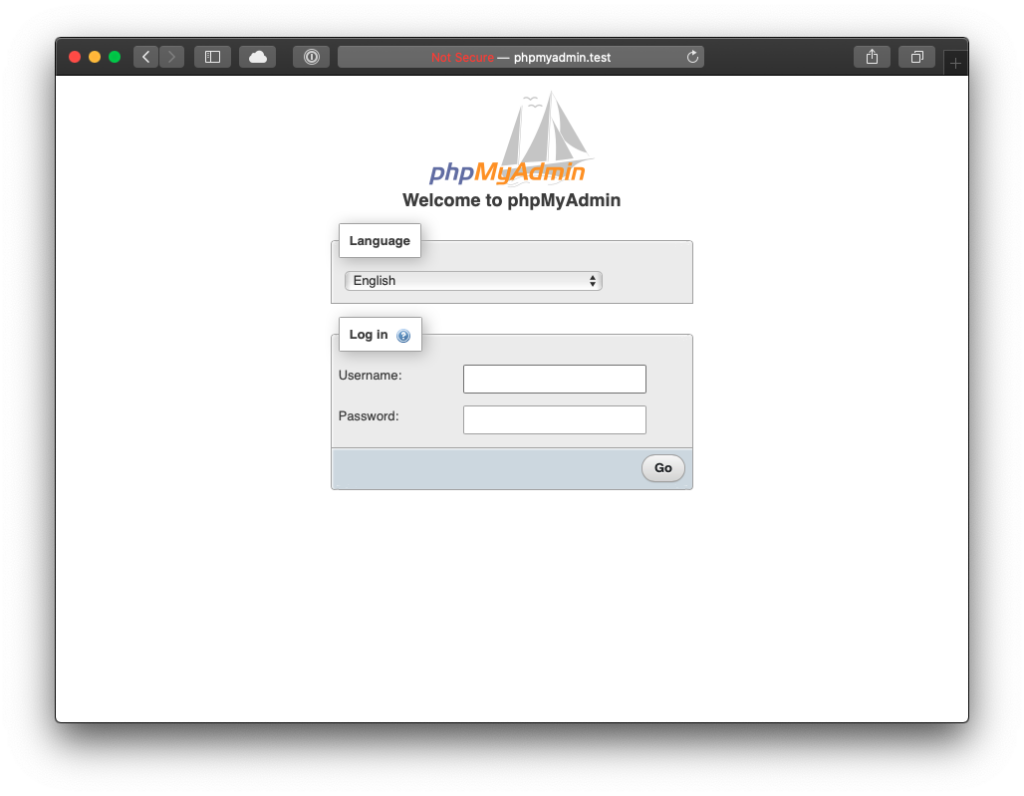
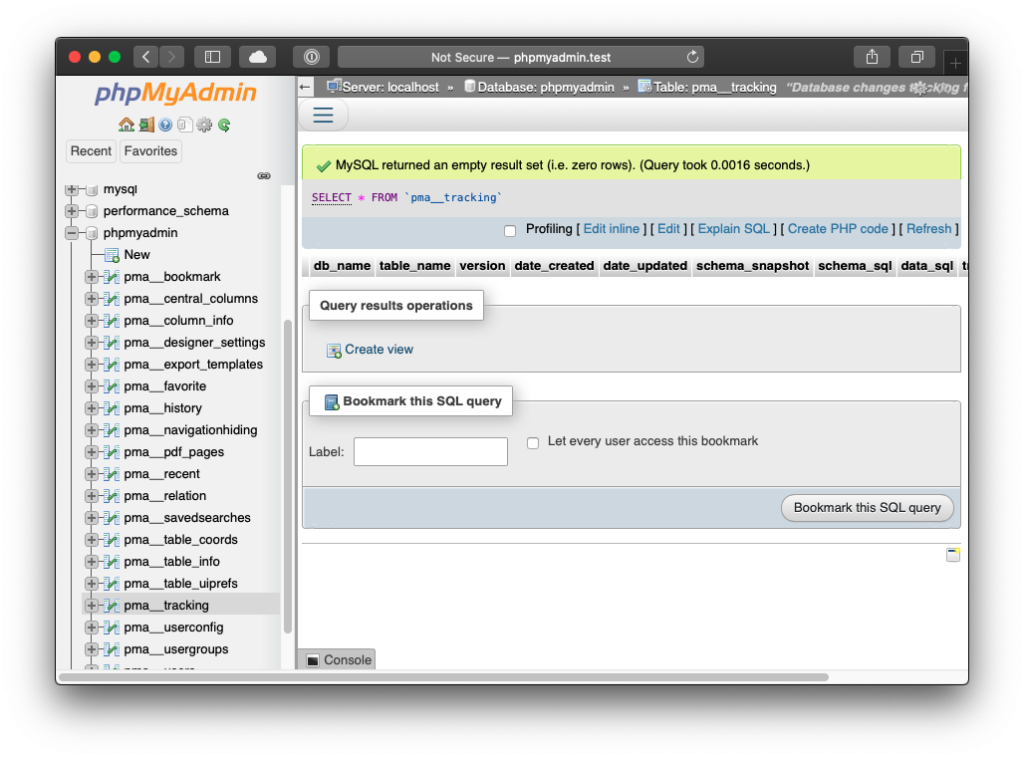
After all these steps, when you head to phpmyadmin.test in your browser, the application starts up as normal.

The default credentials for Homestead, as of version 12.0, are:
Username: homestead
Password: secret

Enjoy!


